Port an inactive NuGet package for Blazor .NET 6
What
You are searching for a NuGet package that will help expedite project development, be it blazor or any compatible platform, only to find out that it is unusable because it is outdated or non-maintained.
The traditional approach is to create the same class library functionality from scratch, the logic and implementations will likely be similar to that of the outdated library. This approach will involve a lot of research, development time and resources.
This article will provide a quicker approach that may save development resources. Porting of an existing class library will minimize development cycles and save costly resources.
Who
This guide is intended for .NET developers or coding enthusiasts that are new and still confused on how to port outdated but useful NuGet packages.
When
The target framework is too outdated for the current project .csproj may contain
As of this writing, .NET 6 long term support has become the standard. The goal is to convert the outdated library to the latest, the new project .csproj should contain
How
Part 1
Download or clone the package. Most open source packages will have a GitHub repository and be likely in an open source licensing conditions, this greatly benefit us with the porting process.
The project in this example will be AspNetMonsters.Blazor.Geolocation .
Part 2
Though not recommended, it is a good practice to place the clone or extracted project in the configured location of visual studio, i.e., C:\Users\{user}\source\{preferred-location}
Part 3
Open the extracted and outdated project or solution
Open in Visual Studio 2022 (latest as of this writing) the outdated class library application that needs to be upgraded
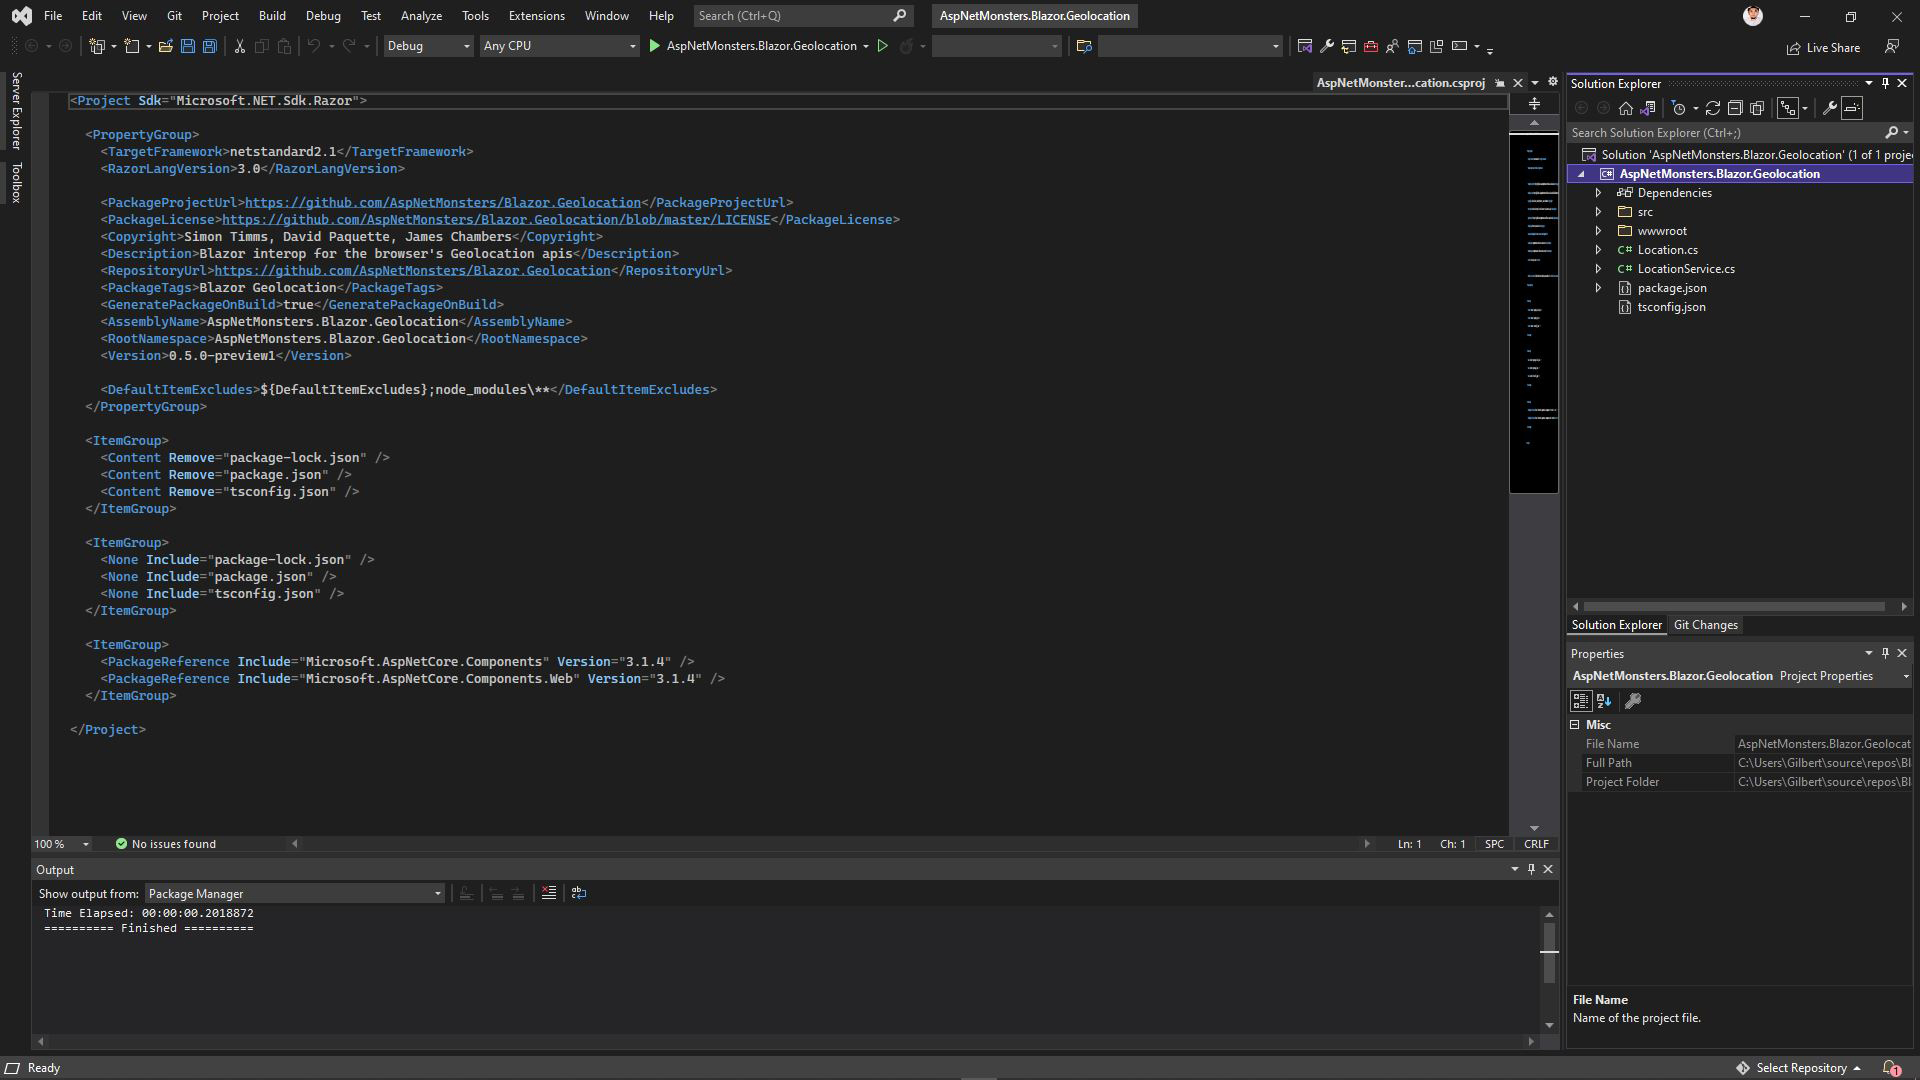
Create the new class library
The new class library project can be created within the existing to-be-ported solution or externally, a standalone and completely separate project. Both approachees does not affect in any way the final build and will likely yield similar result.
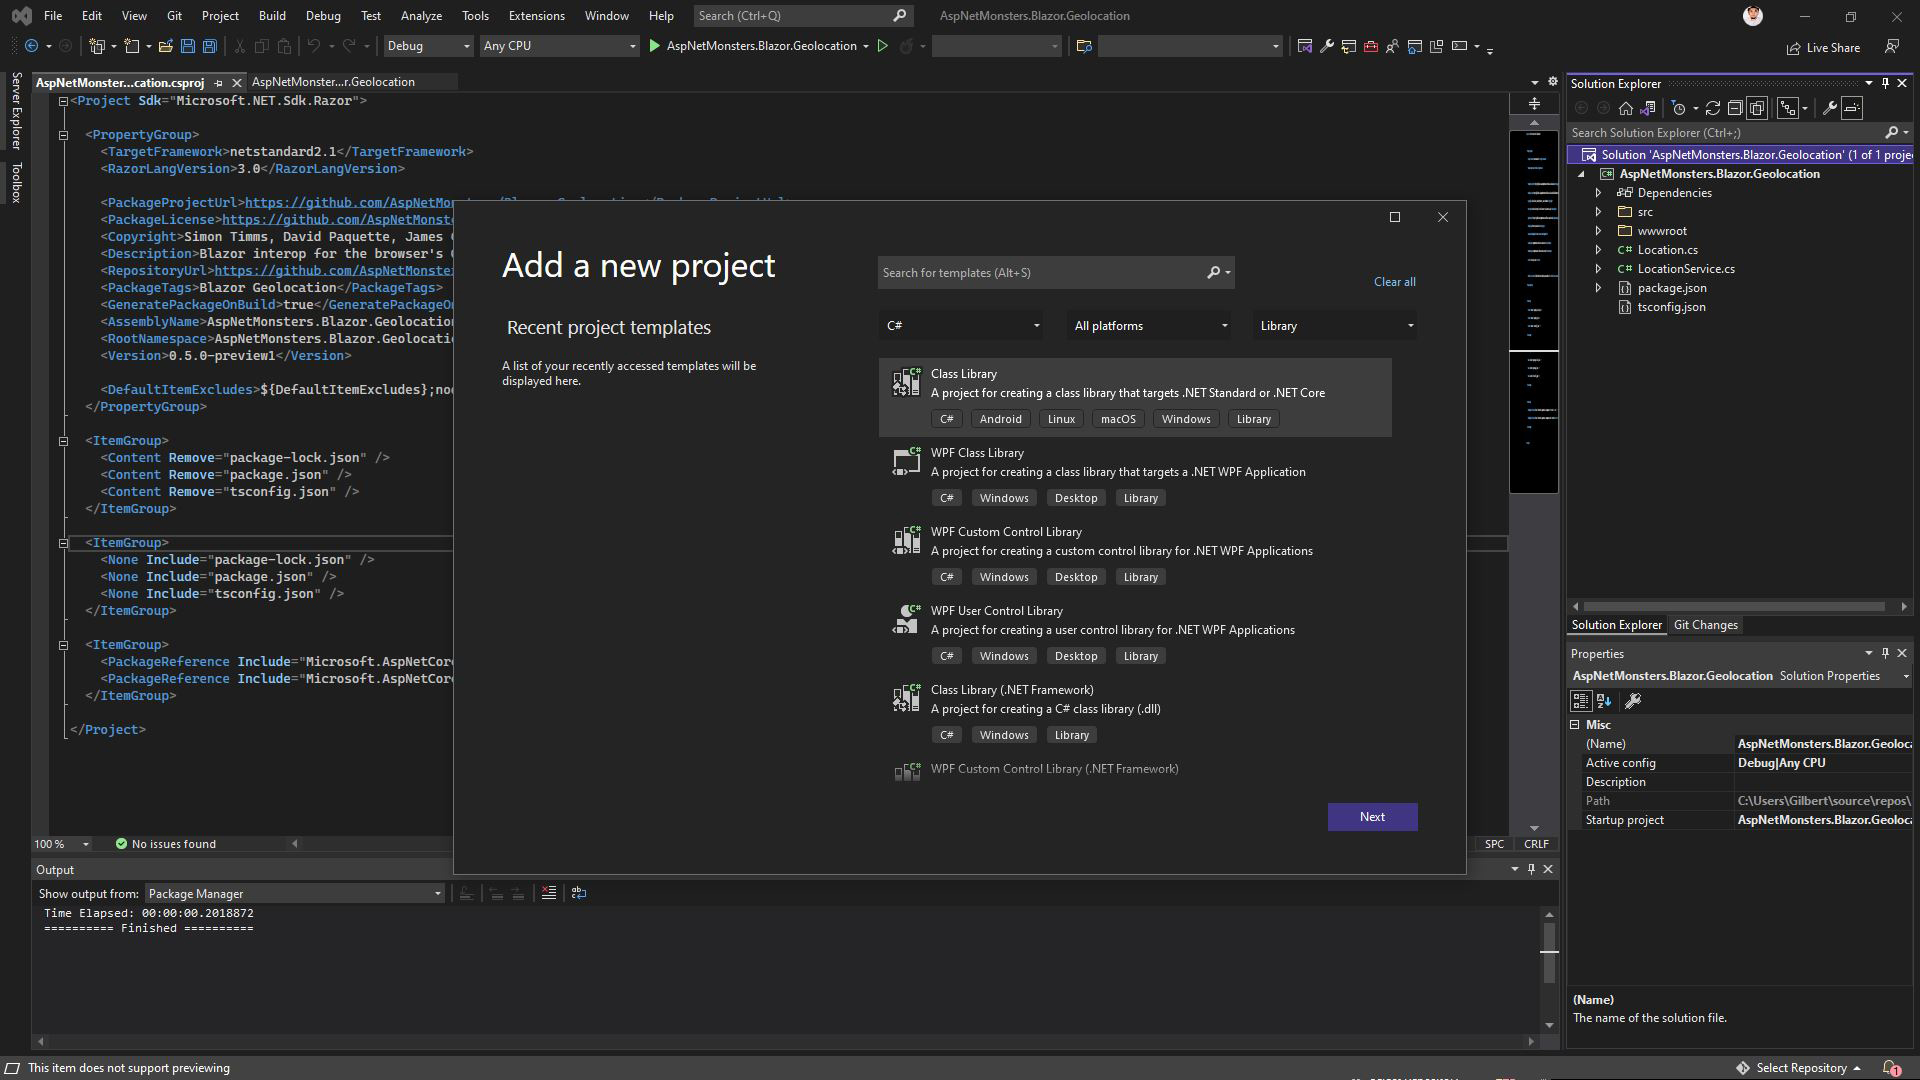
This example will be using the side-by-side approach to take advantage of visual clarity, easier navigation and having the source files within the same solution environment. Right click the solution in Solution Explorer, on the popup dialog, Add > New Project.
Filter language: C# , All platforms, Library, select the “Class Library. A project for creating a class library that targets .NET Standard or .NET Core” template.
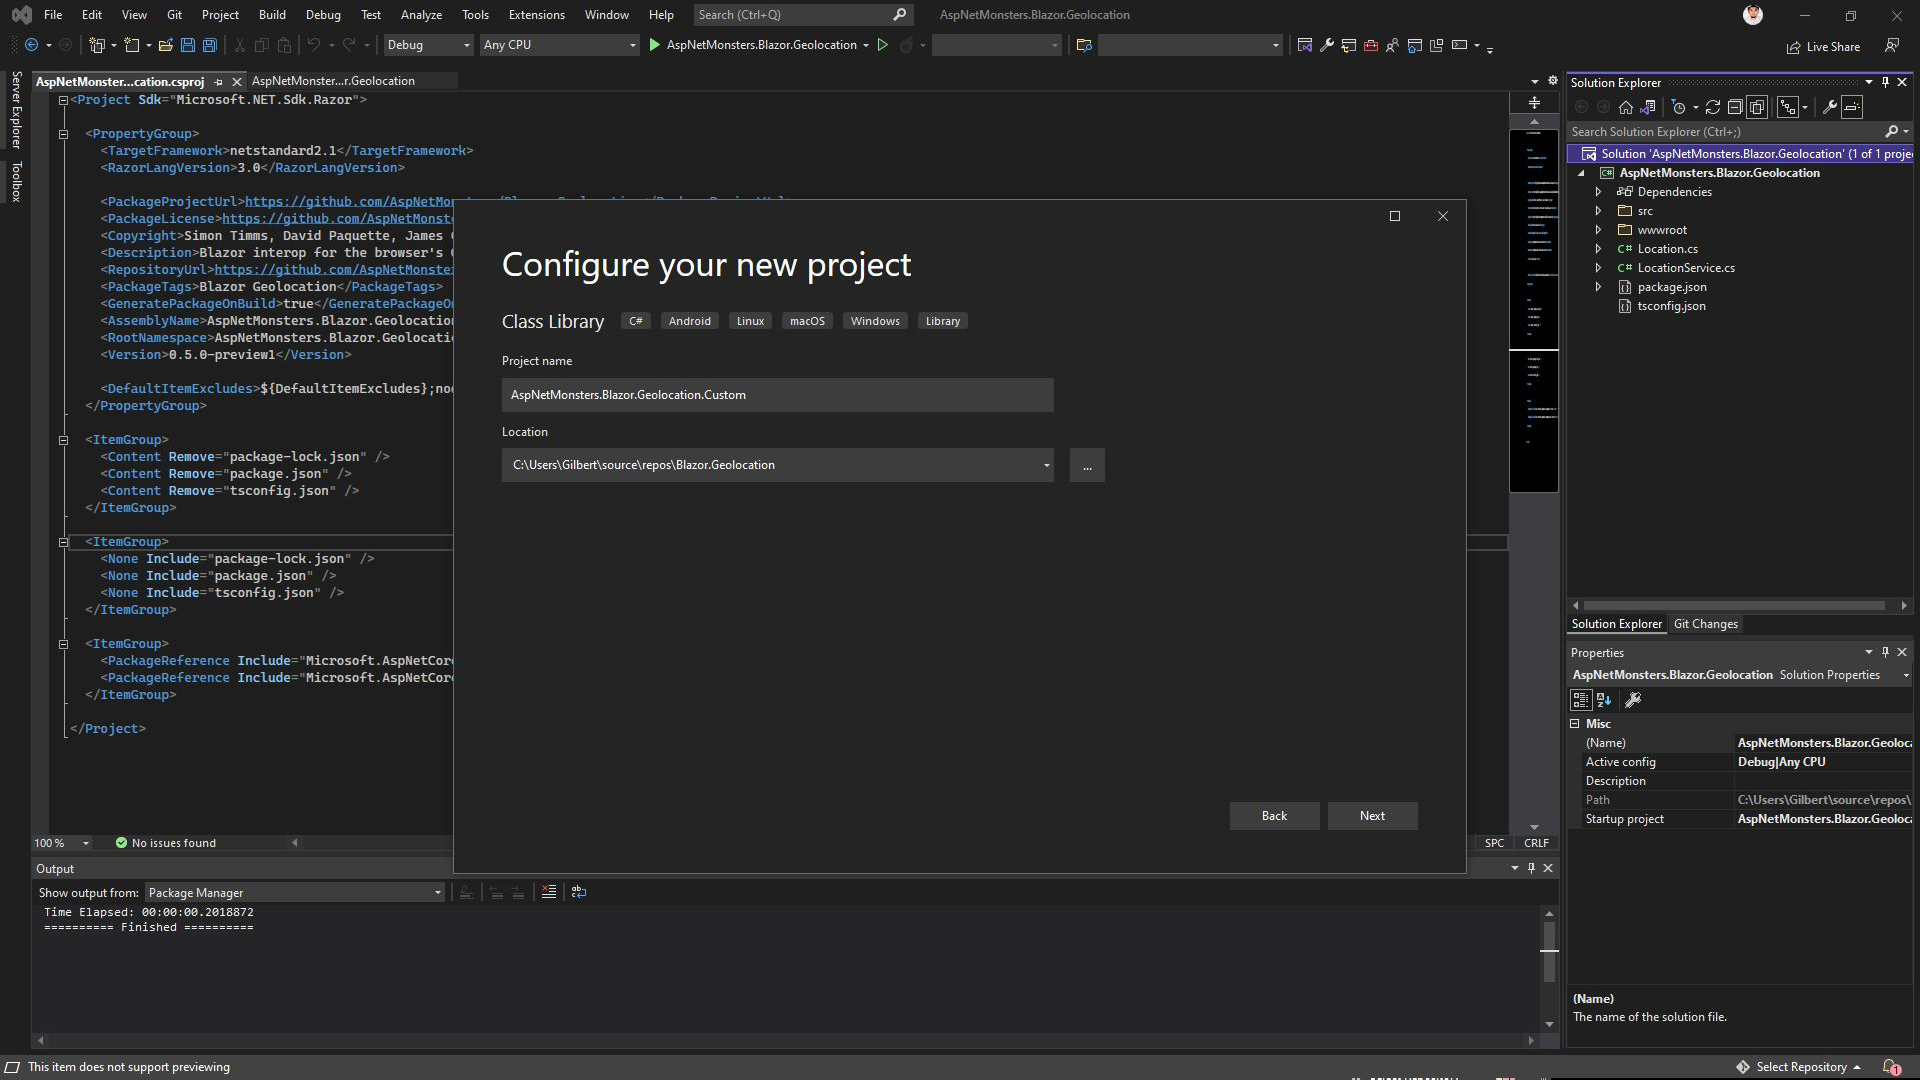
Next, name the project closely similar to that of the outdated project library name. The name is not restrictive, naming it to anything is less significant but for convenience. Note: make sure to retain all the necessary credits and licensing if no heavy modifications to claim it your own.
In this example a {existing-library-name}.Custom is added for easier naming identification, and click OK.
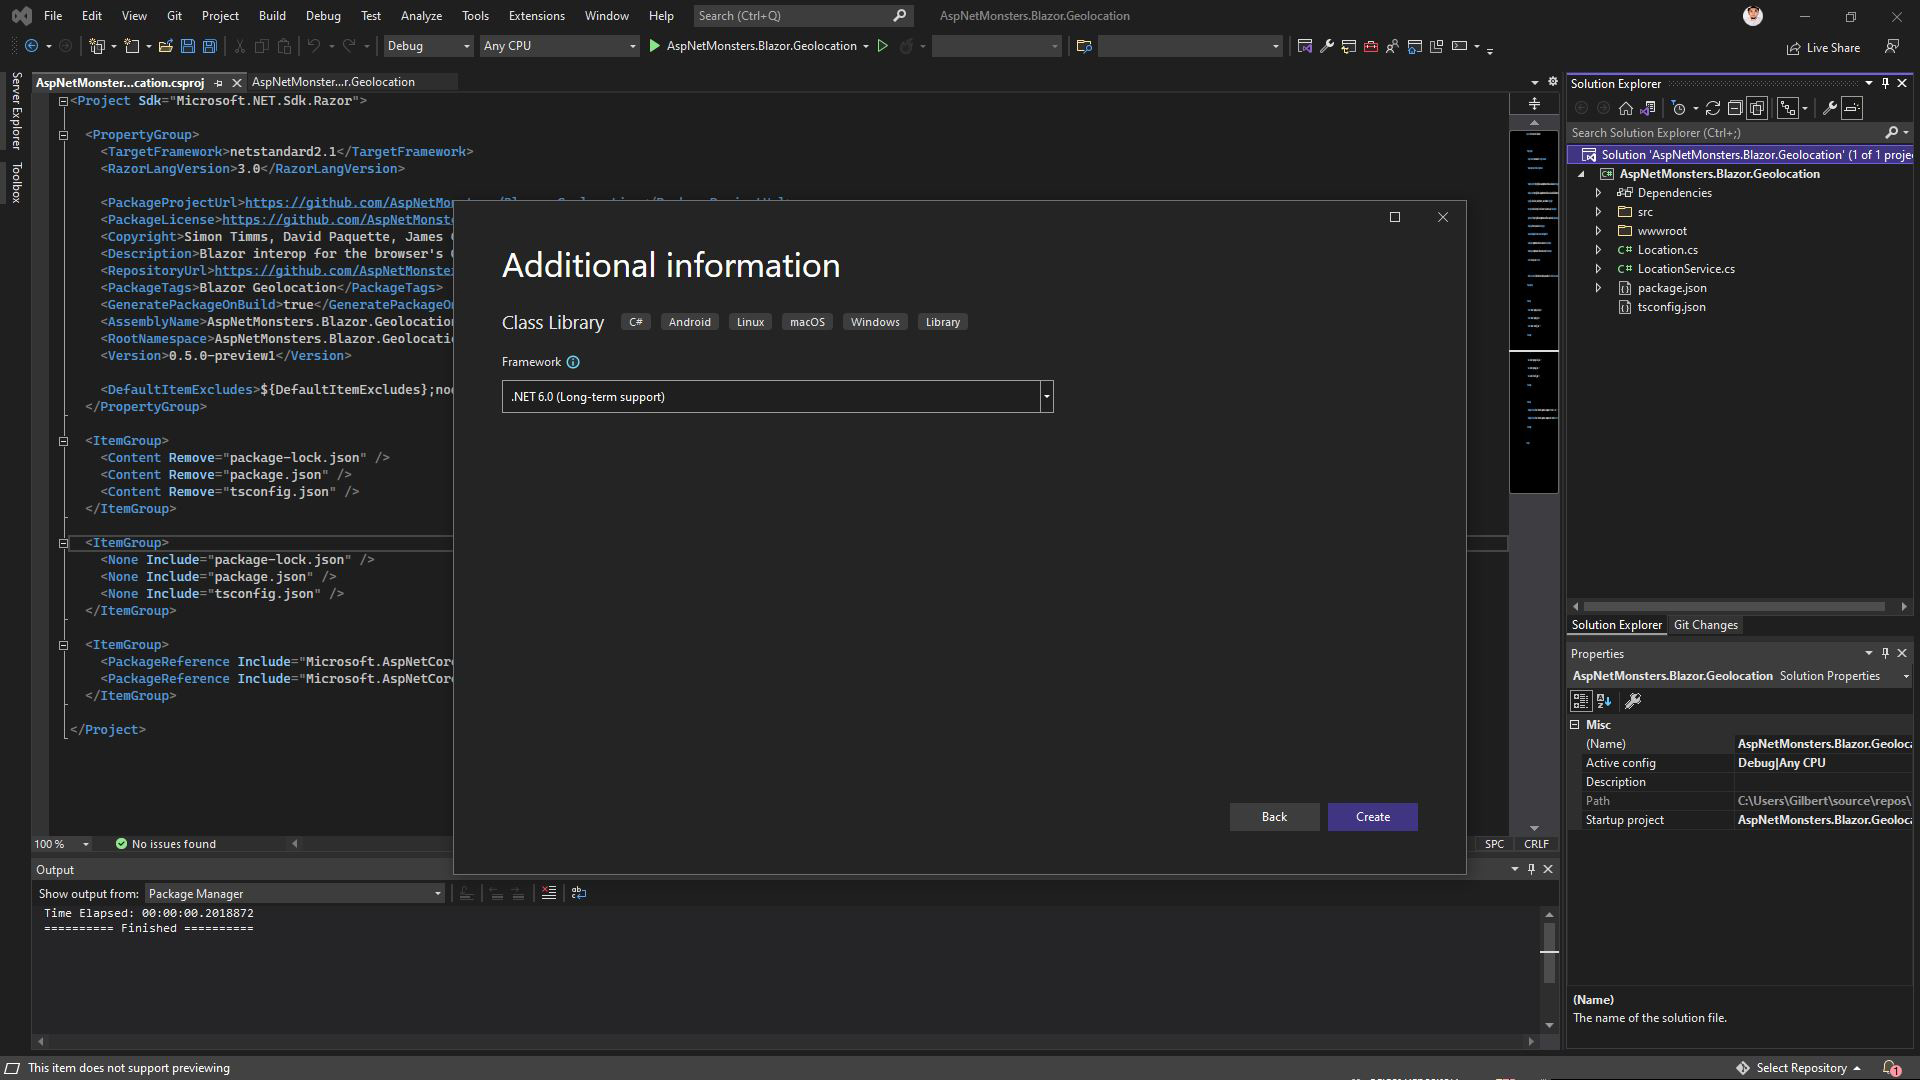
Select the appropriate framework in the additional information for the target build, NET.60 LTS, latest upon this writing.
Create the new class library, a standard class Class1.cs starting file will be provided usually for class library projects. This starting file may not be needed as we are going to copy the classes and resources from the old library. Important note: the namespace is quite significant, this will minimize typos and expedite the porting process.
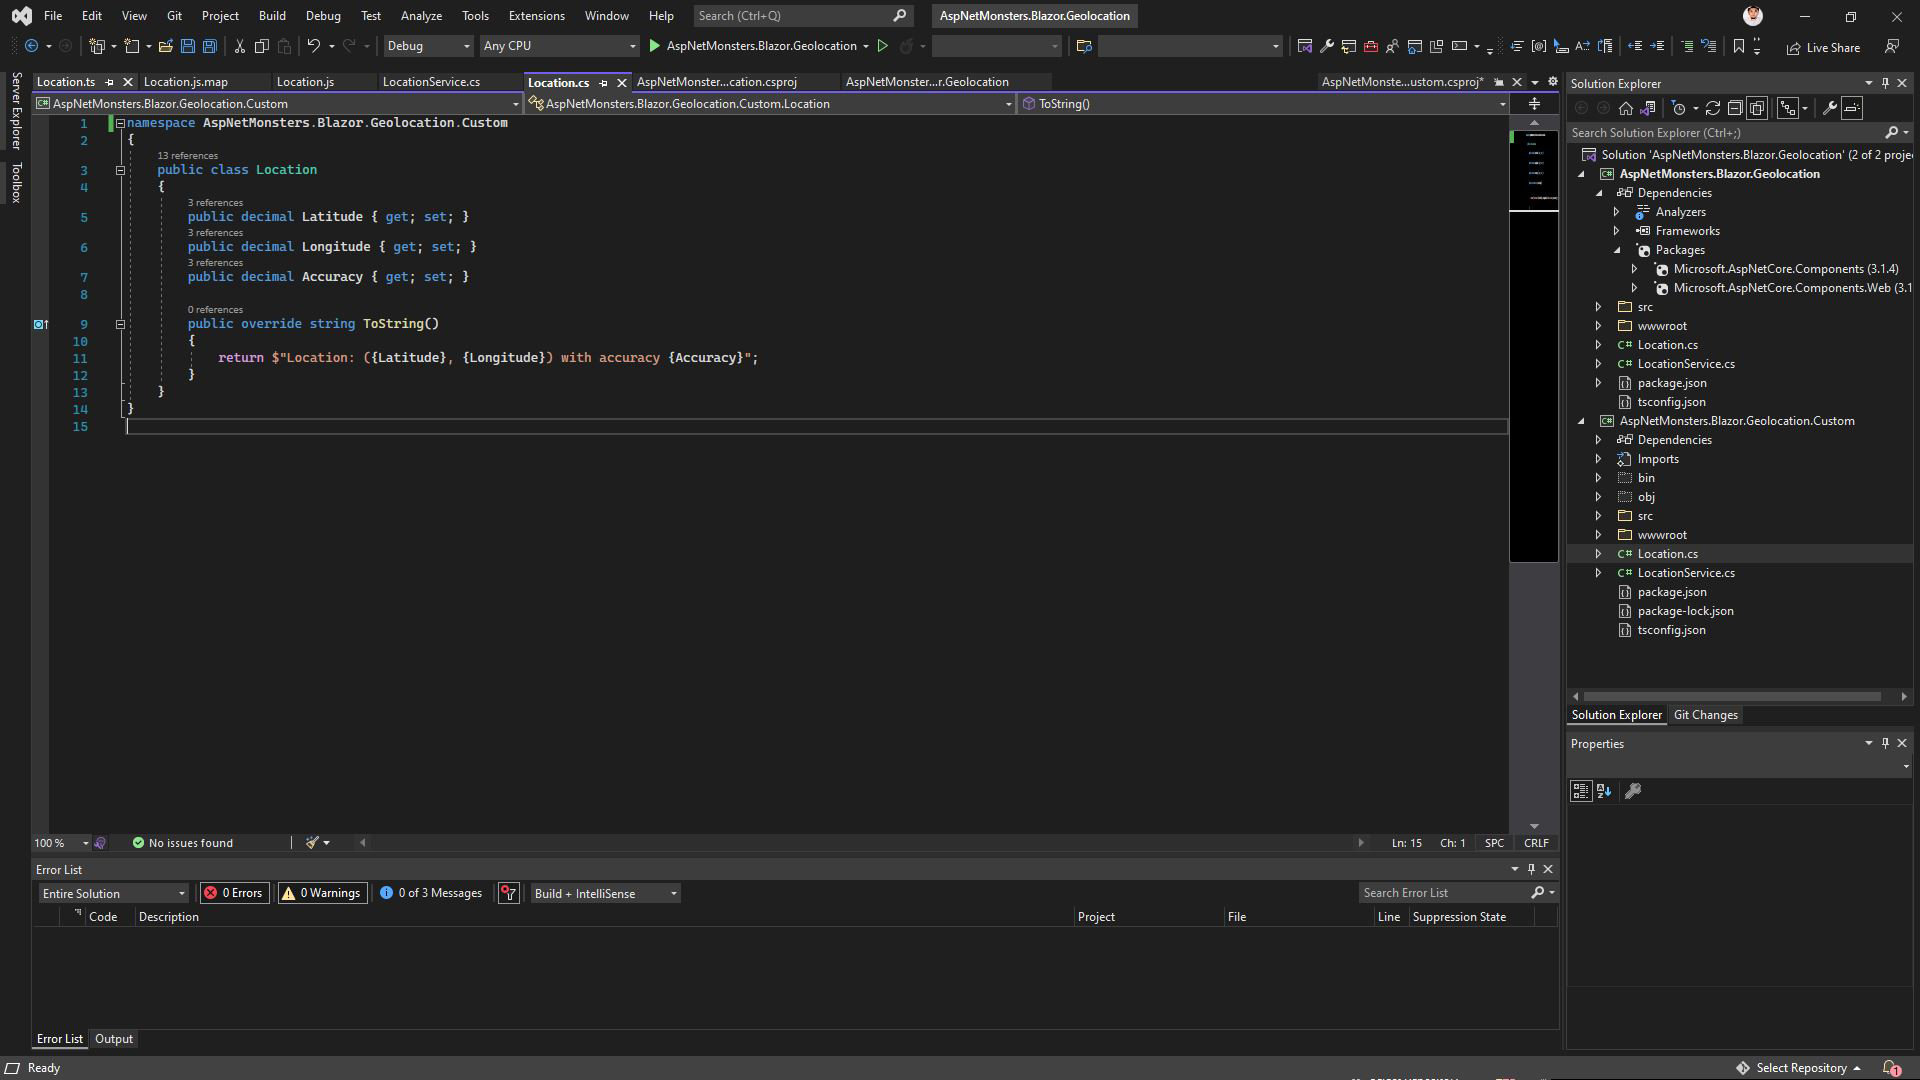
After copying the classes and resources from the outdated project. Build the project, if in any cases, the build is not successful, please do appropriate actions like the following:
- Check and ensure proper namespaces were used, as per suggestion above
- Check for missing dependencies, add, if necessary
- Find appropriate documentations, try and test to ensure that new class library will work as expected
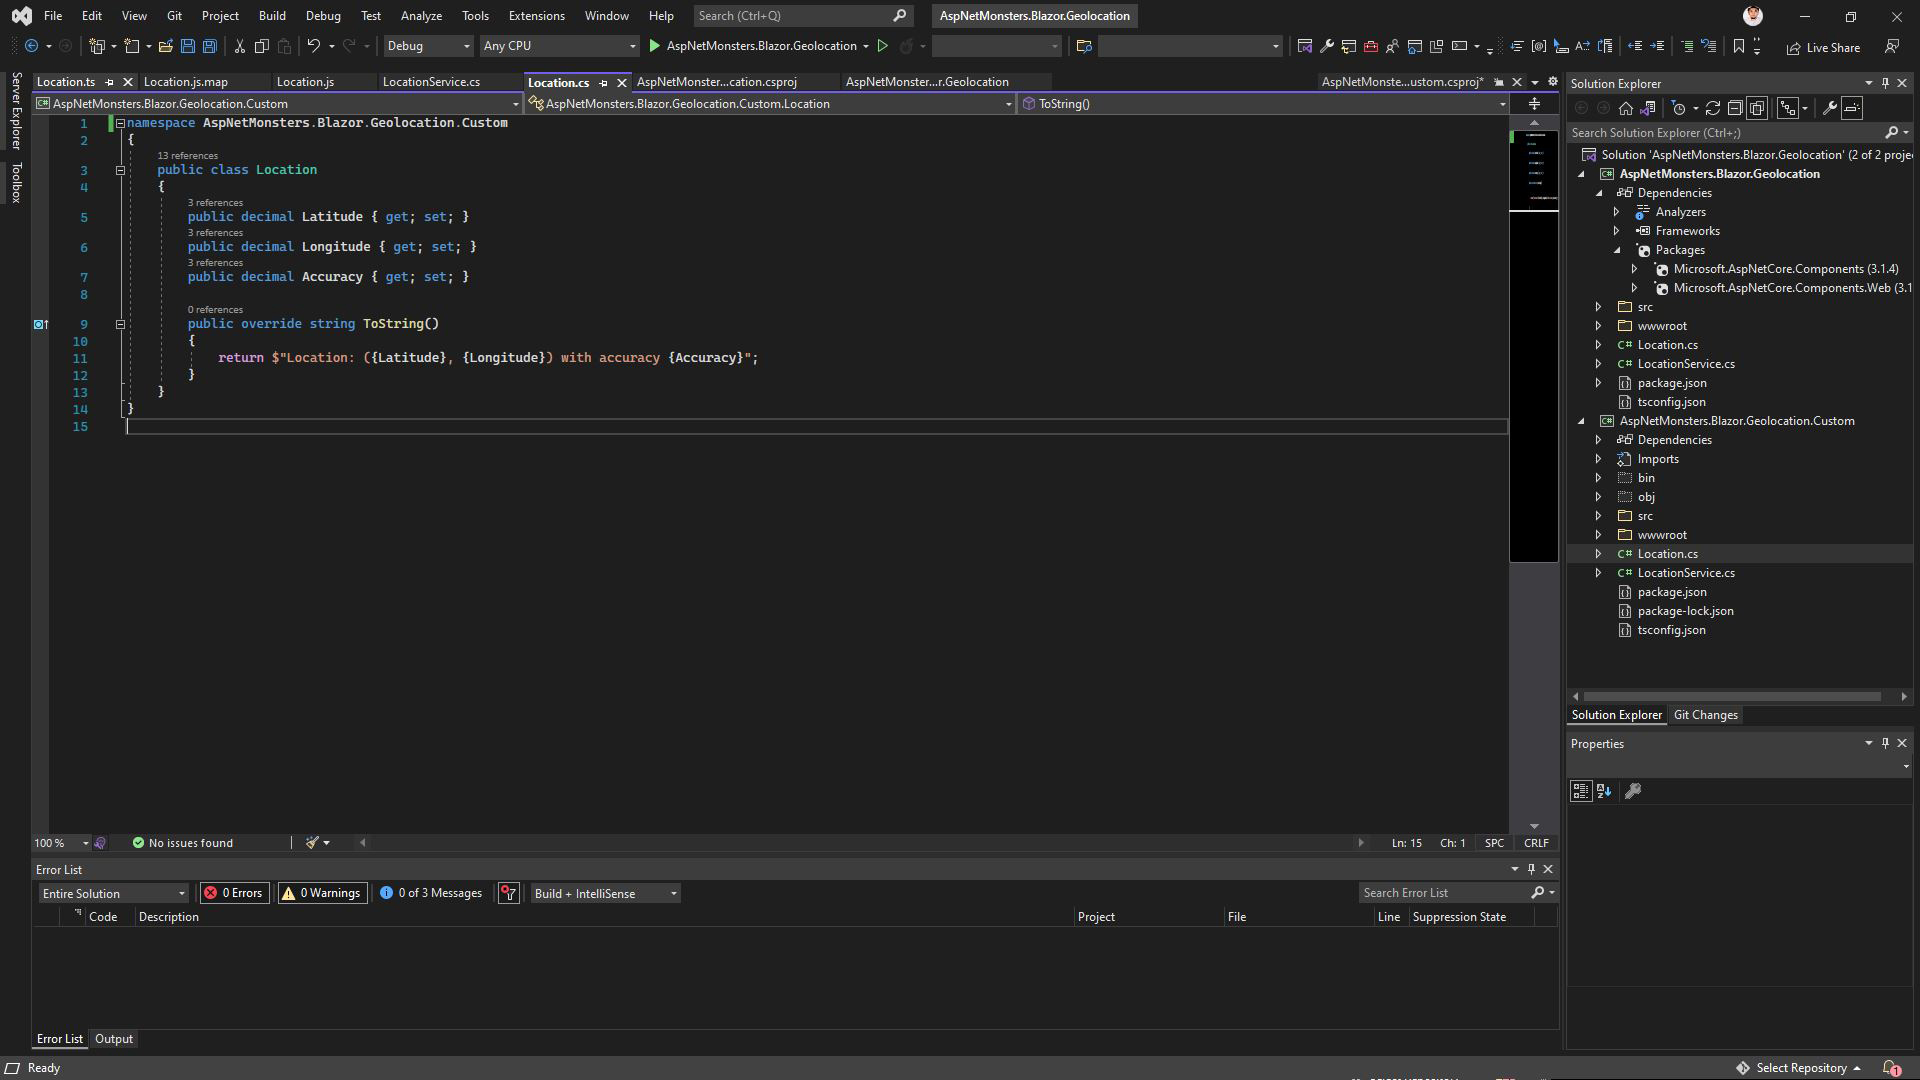
The documentation is enough to get started on porting basic outdated packages from NuGet or GitHub class library packages. The .dll output files should be available on the build directories on success. The dll can be added as part of the dependencies, if you don’t want it to post to be part of the public packages.
TODO: The complete run and port of this sample application will be on a separate blog. The link will be posted here once available.
